
Google Consent Mode for Global Websites: Set Up Clear Choices and Test Your Tags
Start with consent, not a tag
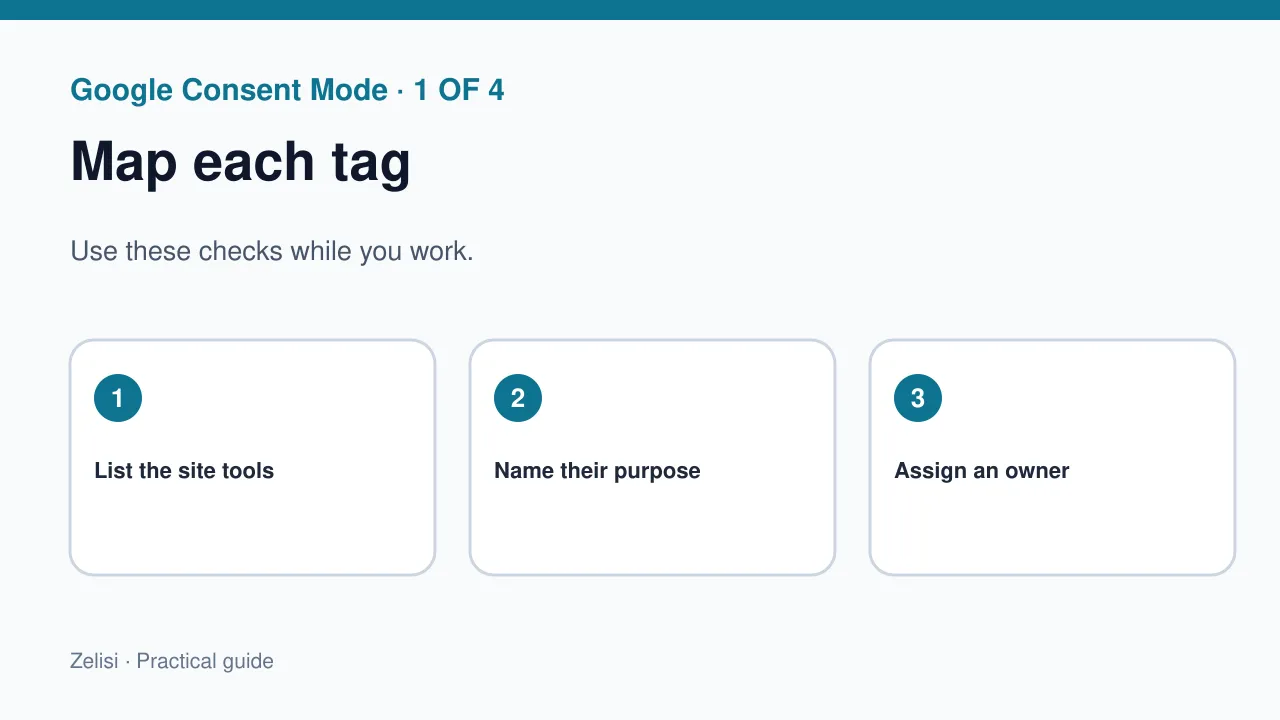
A site may show “Accept” and “Reject.” Yet it may still send data before the user can choose. That can harm trust and may break local law. Consent mode helps Google tags follow a user’s choice. It is not the banner. It also cannot replace a clear privacy policy or legal advice. Before you change code, list the site tools. Include analytics, ad tags, pixels, chat tools, and forms. Check which tools use data and why. Then check that each tag follows the user’s choice.
Know what Google Consent Mode does
Google’s Consent Mode overview explains that a site can change the behavior of Google tags based on consent for storage and use of data. You can choose from two setups. In a basic setup, Google tags are held until the visitor grants the needed consent. In an advanced setup, tags may load with denied defaults and send limited signals based on the settings. This choice can affect user data and privacy. Do not pick a mode just to fill a chart. Ask a privacy expert which path fits your site and its users.
Map the choices to real settings
Explain the choices in plain words
A banner may have separate choices for analytics and ads. The site must send each choice to its tags. The common consent settings include analytics storage, ad storage, ad user data, and ad personalization. Some settings change how Google uses data. They do more than set cookies. Use words that users can grasp. “Help us see how the site works” may explain analytics better than a list of internal tag names. Do not hide distinct choices under one vague button. A person should know what they agree to before making the choice.
Set a safe default before tags run

If your site needs consent first, set each tag to wait. Set the default before the tags start. In Google Tag Manager, put the consent setup at the right point in the page load. A late change cannot take back data sent by a tag. The official setup guide shows how to use the consent API and integrate a banner or a consent tool. Test on a staging site first. A banner may look right while tags fire too soon.
Keep the user choice across pages
Picture a real visit. A reader lands on an article, rejects ads, opens another page, and returns next week. Your site needs a clear rule for how long that choice is stored and when it is asked again. Rules may vary by place. If the person changes the choice, the tag state should change too. Put a way to reopen privacy settings in an easy spot, such as the footer. Avoid designs that make “Accept all” bright while hiding “Reject” or “Change settings” behind confusing steps. The choice must be real.
Test each path with a browser tool
Four test paths to run
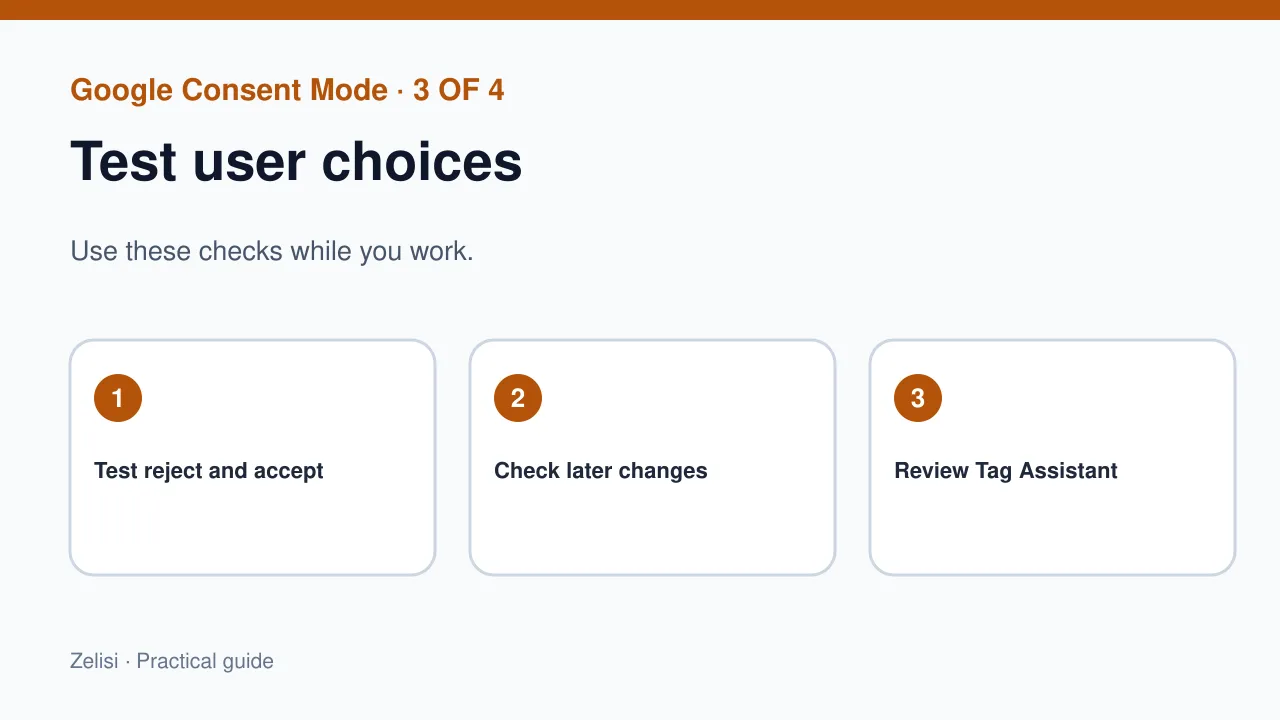
Run at least four tests: a new visitor who has not chosen, a person who rejects, a person who accepts, and someone who later changes the choice. Watch when tags fire and what requests leave the page. Use Google’s Tag Assistant consent debugging guide to check the consent signals seen by Google tags. Do not test only while logged in as an admin. A cache or plugin may change what guests see. Test mobile too. A small banner may cover a key button or fail to show the full choice.
Avoid common setup mistakes
One mistake is to set consent after analytics has already run. Another is to send a banner choice to one tag but not another. A third is to call a cookie “essential” just because the business likes the data it brings. Keep a tag list with each tool’s purpose, owner, and consent need. Also test what happens if JavaScript fails or a person closes the banner. Do not assume that installing a consent plugin makes the site compliant in every country. A plugin is just one part of the work. The words, defaults, tag setup, and data use all matter.
Use a plain example: a course website

Imagine a course site that uses Google Analytics to track lesson page visits and Google Ads to measure sign-ups. The site shows a banner with clear choices. Before the person chooses, the tags follow the site’s set default. If the person agrees to analytics but not ads, the site sends the matching consent update. A test user opens a course page and submits a sample form. The team checks which tags fired in each consent state. It also confirms that the form still works when optional tracking is off. The course should not block a useful lesson just because the visitor declined optional measurement.
Think carefully about the data gap
Some reports will change when people decline tracking. That is part of respecting a choice. Do not treat every gap as a broken tag and try to force collection back on. Explain to the marketing team what data is observed and what may be modeled. Compare trends with care, since consent rates may differ by device, page, and region. Do not use one modeled number as proof that a campaign caused a sale. It can help guide a decision, but it has limits. Combine it with other first-party measures that your site can collect lawfully and fairly.
Give support and editors a clear role
A privacy setting is not only a developer task. Support staff need to know how a visitor can change a choice. Editors should know not to paste new tracking scripts into articles without review. Marketing teams need an approval path before adding a new vendor. A simple request form can ask for the tool, its purpose, data used, and the person who will own it. The site owner can then test the tag and update the privacy notice if needed. This keeps the tag list under control as the site grows. A clean system is easier to explain to readers and easier to fix.
Review the setup after major changes
A new theme, ad partner, form tool, or consent plugin update can change how tags load. Add a quick consent test to each site release. Check the default state, the banner choice, tag behavior, and the path to reopen settings. Keep a record of the tests and any errors fixed. If analytics numbers drop, test the code before blaming the banner. If the code is correct, the change may simply reflect real user choices. Avoid moving the banner or changing copy only to drive a higher accept rate. Your job is to make the choice clear.
Try this test on a fresh phone. Clear the site data, then open the page. Do not tap the banner yet. Check which tags have run. Now reject ads and load a new page. Then change the choice in the footer. The tool log should match each step. Save the results for your site team.
A launch checklist for a global site
Before going live, confirm that the privacy notice matches the actual tools, the banner choices are clear, and each consent state has been tested. The correct legal design depends on the regions served, so get local advice where it matters. Check that pages and forms work without optional tags. Make sure the choice can be changed later. Keep a named owner for the consent tool and tag list. Use official Google documentation for the technical steps, but do not mistake it for legal advice. Good consent design helps a reader use the site with more trust and gives the business cleaner, more honest data.